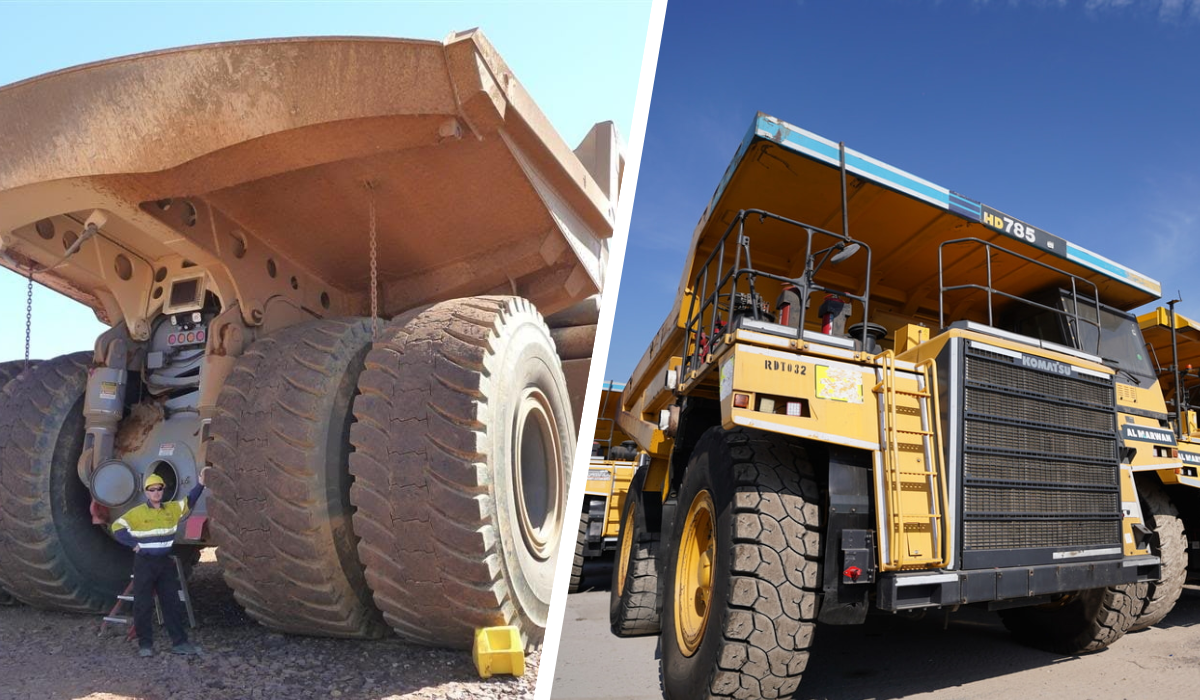
If you own heavy machinery like a KOMATSU vehicle, you understand the importance of keeping all components in peak condition, especially critical parts like the drive hub gear.
The drive hub gear plays a crucial role in transferring power from the engine to the wheels, enabling the machine to move. Over time, wear and tear or severe conditions can lead to a broken or damaged drive hub gear, leaving your equipment out of commission.
In this guide, we will walk you through the restoration process of a broken KOMATSU drive hub gear, helping you extend the life of your machine, improve efficiency, and reduce costly repairs.
1. Identifying Drive Hub Gear Issues
The first step in rebuilding a broken KOMATSU drive hub gear is to correctly identify the issue. Drive hub gears often show signs of wear before complete failure. Here are common signs your drive hub gear may be damaged:
- Grinding noises during operation
- Difficulty shifting gears
- Unusual vibrations in the machine
- Loss of power transmission to the wheels
- Visible damage or cracks in the gear teeth
If you notice any of these issues, it’s time to investigate the drive hub gear.

2. Gather the Necessary Tools and Equipment
Before starting the restoration process, make sure you have the necessary tools and equipment. These will vary depending on the exact nature of the damage, but generally, you will need:
- Wrenches and socket sets for removing bolts and screws
- Torque wrench to tighten bolts to manufacturer specifications
- Gear puller for removing the damaged gear
- Replacement parts (such as new gears, bearings, or seals)
- Clean cloths and cleaning solutions to remove debris and old grease
- Lubricants and grease for reassembly
- Safety gear (gloves, protective eyewear, etc.)
Having everything prepared ensures the job can be done efficiently.
3. Disassemble the Drive Hub Assembly
To access the drive hub gear, you’ll need to disassemble the drive hub assembly. Follow these general steps:
Secure the machine: Ensure the KOMATSU machine is parked on level ground, and disconnect any power sources to prevent accidental starts.
Remove the wheels: Use a wrench to loosen the bolts and take off the wheels to expose the drive hub.
Disassemble the hub assembly: Using a socket set and wrenches, begin removing the bolts that hold the drive hub together. Carefully document the order of parts for easy reassembly later.
Access the drive hub gear: Once the hub is open, you’ll be able to see the drive hub gear along with the surrounding components, such as bearings and seals.
Inspect surrounding components: Before removing the damaged drive hub gear, inspect surrounding parts. Bearings, seals, and other components may need replacement if worn.

4. Remove the Broken Drive Hub Gear
With the drive hub gear exposed, it’s time to remove it. If the gear is damaged but still intact, you can use a gear puller to remove it from the shaft. If the gear is severely broken, you may need to remove the remaining pieces by hand. Be cautious when removing the gear to avoid damaging other components of the hub assembly.
Once the gear is removed, clean the surrounding area thoroughly. Use a clean cloth and cleaning solutions to remove debris, dirt, or old grease.
5. Install the New Drive Hub Gear
After cleaning the hub assembly and ensuring all parts are in good condition, it’s time to install the new drive hub gear. Follow these steps for a successful installation:
Lubricate the new gear: Apply lubricant or grease to the new drive hub gear. This helps prevent excessive wear and ensures smooth operation.
Align the new gear: Place the new gear onto the shaft, making sure it is aligned correctly with the surrounding components.
Secure the gear: Use the appropriate tools to secure the gear onto the shaft. If necessary, refer to the KOMATSU manual for specific torque requirements. A torque wrench can ensure the bolts are tightened to the proper specification.
Replace surrounding components: If you’ve replaced bearings, seals, or other components, install them at this point, following the same steps for lubrication and securing.

6. Reassemble the Drive Hub
Once the new gear is installed and secured, it’s time to reassemble the drive hub.
Reinstall the hub assembly: Begin reassembling the drive hub in the reverse order of disassembly. Make sure all parts are installed correctly and secured tightly.
Install the wheels: Once the drive hub is back in place, reinstall the wheels, tightening the bolts according to KOMATSU’s torque specifications.
Test for functionality: After reassembly, perform a test to ensure everything is working as expected. Slowly move the machine, listening for any unusual sounds and checking for smooth gear shifting.
7. Perform Routine Maintenance
Regular maintenance can prevent future issues with your KOMATSU drive hub gear. Follow these tips to keep your machinery in good condition:
- Regularly inspect the drive hub gear for wear and tear
- Lubricate gears and bearings as recommended by the manufacturer
- Replace seals and bearings as needed to avoid gear failure
- Keep the hub clean from debris and dirt to prevent damage to moving parts
- Check torque settings on bolts and other fasteners during routine inspections

8. When to Seek Professional Help
While this guide covers the basic steps for rebuilding a broken KOMATSU drive hub gear, certain situations may require the expertise of a professional. If you encounter any of the following issues, it’s best to seek help from a KOMATSU-certified mechanic:
- Severe damage to the hub assembly that requires specialized tools or knowledge
- Difficulty in removing or installing gears and bearings
- Unusual noises or vibrations even after gear replacement
- Frequent gear failures despite proper maintenance
Certified professionals have access to specialized equipment and expertise that can ensure a thorough and lasting repair.
Rebuilding a broken KOMATSU drive hub gear is a manageable task that can save you time and money, provided you follow the right steps.
By identifying gear issues early, using the proper tools, and maintaining your machinery regularly, you can extend the lifespan of your drive hub gear and ensure your KOMATSU machine runs smoothly for years to come.

If you’re unsure about any step, or if the damage seems extensive, don’t hesitate to contact a KOMATSU-certified mechanic. Proper repair and maintenance not only protect your investment but also keep your operations running efficiently.
By following these steps, you’ll have a solid understanding of how to restore your KOMATSU drive hub gear and get back to work with minimal downtime.
Watch the full video here: