When I faced a broken loader gear, I knew it wasn’t going to be a simple fix. But, with the right approach and a few unique skills, I was able to restore it to working condition.
This article will guide you through the process I followed, from diagnosing the problem to the final repair.
Step 1: Identifying the Problem
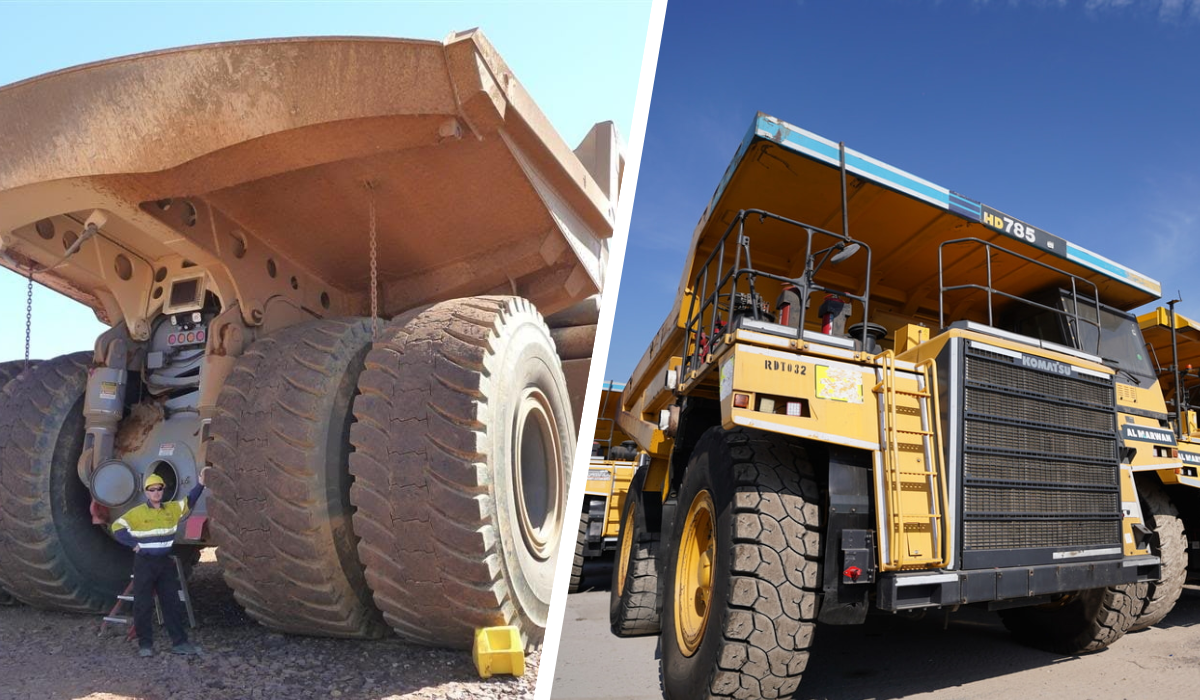
Before diving into any repair, the first step is to diagnose the issue. For my loader, the gear mechanism was malfunctioning, leading to uneven or jerky movements.

I suspected the loader gear teeth were either worn or broken.
To identify the problem:
- I inspected the gear assembly.
- Checked for signs of wear and tear, missing teeth, or any debris lodged in the mechanism.
- Rotated the gears manually to assess how smoothly they moved.
Step 2: Gathering the Right Tools
Once I pinpointed the broken gear, it was time to gather the necessary tools for the job.

Having the right set of tools not only ensures a smooth repair process but also minimizes potential damage to other parts of the machinery.
Here’s what I used:
- Wrenches of various sizes to disassemble the loader gear assembly.
- Screwdrivers and a pry bar for loosening bolts and removing stuck components.
- Gear puller to safely remove the gear without damaging surrounding parts.
- Replacement gear of the exact specification (obtained after thoroughly measuring the damaged one).
Step 3: Disassembling the Loader Gear
Disassembling requires precision and patience. If you rush, you could end up damaging other parts of the loader. To avoid this:
- I started by turning off and disconnecting all power to the loader for safety.
- Then, I removed the external casing, allowing easy access to the loader gear.
- Using the gear puller, I carefully extracted the broken gear, making sure not to disturb other vital components.
Step 4: Repairing or Replacing the Gear
Here’s where my unique skills came into play. I had a few options:
- Repair the gear if the damage was minimal, such as welding and reshaping the teeth.
- Replace the gear if the damage was extensive.
For me, the damage was irreparable, so I opted to replace it. However, not all loaders use the same type of gears.

I made sure to measure and source a gear with the exact specifications.
Step 5: Assembling the Loader
After the gear was either repaired or replaced, I began the reassembly process:
- Placed the new gear back into position, ensuring proper alignment.
- Reattached the surrounding components using my wrenches and screwdrivers.
- Double-checked all bolts and connections to ensure everything was tightly secured.
Step 6: Testing the Loader Gear

With the gear in place and the loader reassembled, it was time to test the loader gear. I reconnected the power and ran the loader, paying attention to:
- The smoothness of movement.
- Absence of jerking or grinding sounds.
The replacement worked perfectly, and the loader was back in action.
Unique Skills That Made the Repair Possible
The key to this successful repair was a combination of unique skills:
- Problem-solving: Accurately diagnosing the issue with the loader’s gear required analytical thinking.
- Patience: Disassembling and reassembling delicate machinery takes time and precision.
- Technical expertise: Understanding gear mechanisms, knowing how to handle tools, and being familiar with loader mechanics were crucial in performing the repair.
Conclusion
Repairing a broken loader gear is no small task, but with the right skills and approach, it’s completely doable.

My journey with this repair taught me the importance of patience, technical know-how, and ensuring you have the correct parts and tools for the job.
If you ever find yourself dealing with a similar issue, follow these steps, and you’ll have your equipment up and running in no time!
Watch the full video here: